
Dareplane Repair Tips
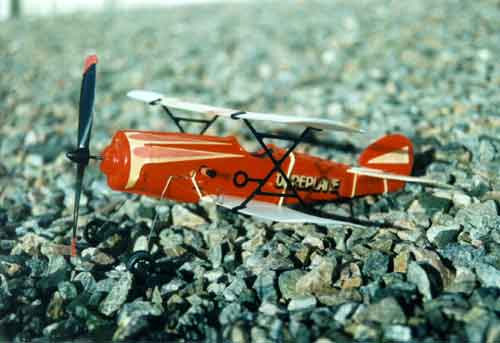
The Dareplane was only on the market for a few months as I recall. A rash of failures caused Mattel to recall the plane. The biggest problem that Mattel faced was opening the plastic case for the controller box. The fact is, you can't! It's sealed shut! That was probably the downfall of the toy.
No power to motor problem
I have successfully repaired a Dareplane that I purchased off of ebay. Follow the link below to view pictures of the inside of the control box (that's where the problem was). I suspect that the control box may be the source of problems for many other people as well.
- A big problem is getting inside the control box. That was solved with a Mototool with cutting wheel and a steady hand (see detailed information).
Click here for detailed information!
Gear Grinding Problem
 Another problem that I experienced was when the plane nosed into the ground. The
gearing for the plane apparently broke. The symptom was a grinding noise from within
the plane body. This is the problem I had with the plane back in the 70's. The
same thing happened to my new plane (after I fixed the motor power problem!).
Another problem that I experienced was when the plane nosed into the ground. The
gearing for the plane apparently broke. The symptom was a grinding noise from within
the plane body. This is the problem I had with the plane back in the 70's. The
same thing happened to my new plane (after I fixed the motor power problem!).
Upon further inspection of the plane, I noticed a spring wrapped around the propeller shaft (you have to look very closely). When the plane is operating correctly, this spring compresses. This compression allows the propeller to disengage. This is good. It keeps the prop gears from stripping every time the plane hits something (that occurs often).
The problem is with hard hits. This caused the spring to jam inside the PROPELLER. The result is that the propeller no longer has sufficient tension to stay engaged with the gears inside the plane. That causes the gears within the plane to grind.
You can test for this problem.
- Is the propeller turning erratically, or not at all?
- Is a grinding noise heard from within the plane?
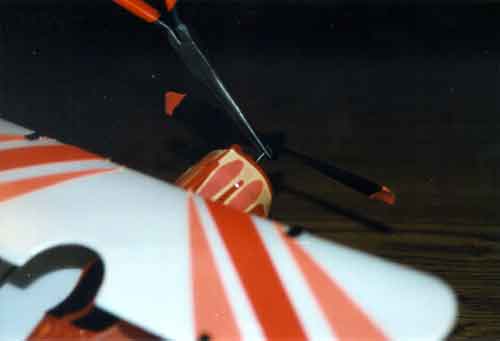
If so, the spring may be jammed in the propeller. To fix the problem, simply grasp the spring where it enters the propeller with a pair of long nosed pliers. Squeeze firmly and work the spring out. You may have to work the spring out a little at a time. Make sure to grasp the spring as close to the propeller as possible to avoid stretching it.
In the picture above, the pliers are grasping the spring that wraps around the prop shaft. Squeeze the spring firmly with the pliers and pull toward the plane. Pull about 2mm and then repeat, working the spring out a little at a time. Take care not to stretch the spring by being impatient and trying to get the spring out in one long pull.
Other problems
I would like to post solutions that others may have found. Please email me if you have any!